A detailed guide to the correct way to convert asparagus fern (Asparagus setaceus) from soil culture to water culture
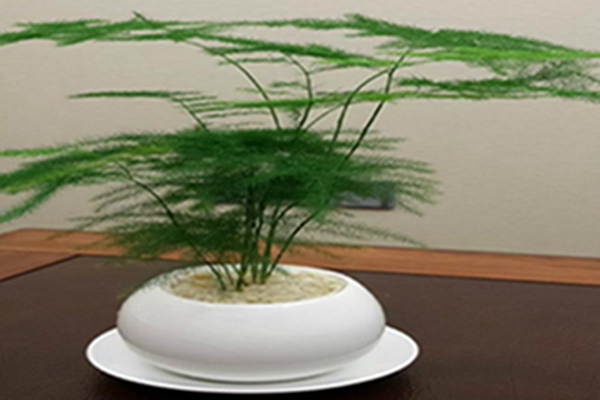
1. Remove the soil
First wait until its soil is almost dry, then take it out of the soil, being careful not to damage its roots; most of the mud on its main roots needs to be kept.
2. Wash the roots
Then remove the excess soil from its roots, wash its roots clean, cut off any roots that have rotted or grown old, and then disinfect its roots.
3. Choose a container
Choose a bottle of a relatively suitable size for it, preferably a glass bottle, as this will look nicer, then wash the bottle clean and fill it with water that has been left standing in the sun for many days. The bottle's opening must be large enough; you can add some gravel at its bottom, then put it in, noting that the water must not be higher than its roots.
4. Sprinkle water to keep it moist
After finishing, you can spray some water on its leaves to keep them moist, then place it in a windy area to let it recover for a while and adapt to the new environment. It is best to place it in a bright area so it can recover faster.
5. Water-culture care
1. At the beginning, change its water once every three days, and after half a month this can become once every four or five days. You can also decide the number of water changes based on temperature changes: if the temperature is very high, change its water more often; if the temperature is low, change it fewer times. Each water change does not need to be a complete change; you only need to replace one third or two thirds of it.
2. Use diffused light to care for it. If it grows yellow leaves, there is no need to be too nervous; as long as its roots are cared for well, the leaves will naturally recover. Pay attention to ventilation and let it receive diffused light.