How to grow a potted landscape pine? Teach you one trick to make your neighbors envy you
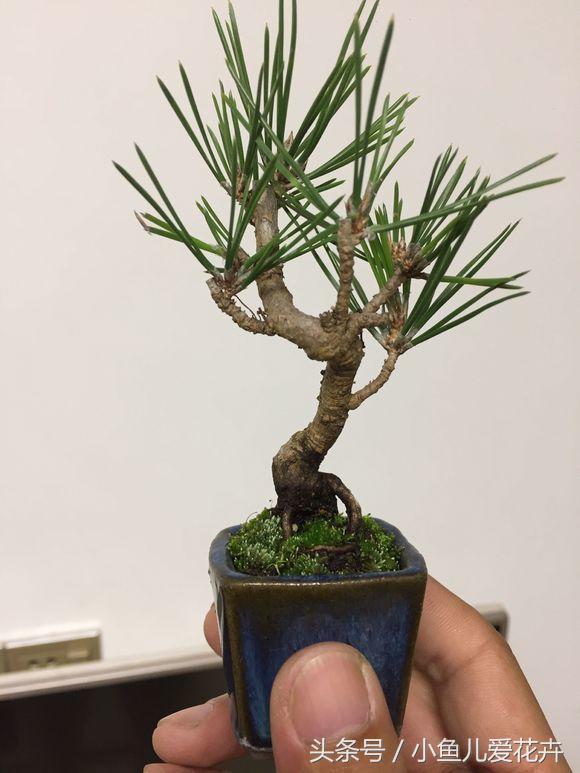
The Japanese black pine (Pinus thunbergii) is an evergreen tree species that is extremely tolerant of poor soil, cold and drought. It can grow without hindrance even on hillsides and mounds lacking fertilizer and water, and the price of Japanese black pine is not expensive either, making it one of the commonly used tree species in landscaping. Japanese black pine is not only a good tree species for landscaping but also an excellent variety for making bonsai, and is deeply loved by people. The following is a brief introduction to the cultivation and management of Japanese black pine:
Cultivation of Japanese black pine
1. Japanese black pine likes light, tolerates poor soil, and has very strong adaptability, with no great demands on the growing environment.
2. In propagation, Japanese black pine is mainly grown from seed, with very few propagated by cuttings, but the survival rate of cuttings is very low and management is relatively difficult; seed sowing can be done by broadcasting seeds in a seedbed or raising seedlings in containers or bags, with a very high survival rate that can reach over 95%.
Management of Japanese black pine
1. Seedling stage
Take shade measures in summer and cold protection measures in winter.
2. Irrigation of Japanese black pine
Japanese black pine prefers a dry environment, so drainage work must be done well during the rainy season; it is important to remember that large areas of standing water and prolonged soaking must not be allowed to occur. During the dry season, the amount of water for irrigation should not be too large; watering thoroughly is sufficient.
3. Fertilizer amount
Japanese black pine is not very strict about whether the soil is fertile or poor; as long as there is some soil it can grow. Fertilize 1 to 2 times per year. Based on many years of planting experience with seedlings, it is recommended to use fully rotted cake-type fertilizer as the best option, which helps rooting and growth and increases resistance to disease and pests. You can also add 30-50 jin of compound fertilizer and urea per mu, and appropriately increase fertilizer during the seedling stage and transplanting stage.
4. Transplanting stage
For seedlings in the seedbed, transplanting in March-April of spring is best. The main details are as follows:
① When lifting the seedlings, the digging area should be appropriately enlarged, taking care to protect the main root and lateral roots and keeping as much soil as possible. The lifted seedlings should promptly have their roots wrapped in plastic bags or woven bags to protect them well.
② When transplanting the seedlings into already leveled land, the planting density should not be too high. The plant spacing should be 20-30 cm and the row spacing 30-50 cm. The planting depth should not be too deep; it is enough just to cover the roots.
③ After planting is completed, irrigate uniformly. Note that the first watering must be a deep irrigation so that the roots and soil combine better.
④ After that, there is no need to manage them for 3-5 days. Once the seedling plot can bear a person's weight, you can go in and simply straighten any fallen or leaning seedlings.
⑤ For container seedlings or bag seedlings, no management is needed for the first 2-3 years; it is enough to do a good job of protection when the seedlings sprout and grow. When the seedlings reach a certain height and need repotting, the best time is February to April. When repotting, take care to protect the roots and the young buds on the branches.