Rose and orchid... give them a gentle twist, and in 10 days little shoots appear, and in 1 month they burst out of the pot!
Give the rose a gentle pull, and new leaves burst out of the pot!
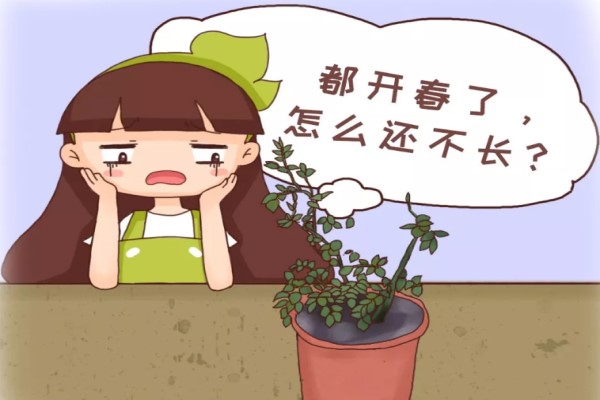
As soon as spring arrives, roses should be pushing out new branches and new shoots, getting ready to bloom. But isn't it worrying when the rose at a flower lover's home is still just a bare stick! Today Huahua will teach everyone 2 little methods to make roses quickly fill the pot!
Rose bursting secret one: horizontally pull the main branches
If you want a rose to quickly burst out of the pot, you must horizontally pull the main branches and remove the rose's apical dominance. Because if the terminal bud grows vigorously, it will inhibit the growth of lateral buds. Only by removing apical dominance can the lateral buds sprout as soon as possible and turn into sturdy flowering branches.
Before horizontally pulling the main branches:
After horizontally pulling the main branches:
If quite a few small shoots emerge after horizontally pulling the main branches, you can appropriately rub off a few and keep only the sturdier little shoots, so they have a greater chance of becoming sturdy branches.
Flowering after horizontally pulling the main branches:
Rose bursting secret two: tilt the flower pot
If a flower lover does not dare to horizontally pull the main branches for fear of damaging the branches, you can also choose the method of tilting the flower pot, which can likewise achieve the effect of removing apical dominance. Tilt the flower pot about 45 degrees, toward the end with the weaker branches, place a brick or stone under one side of the pot, and remember to secure the flower pot with rope.
After tilting the flower pot, the apical dominance at the top of the rose's main trunk is removed, and apical dominance re-forms at the end with the weak branches, prompting new lateral buds to sprout, making the rose branches sturdier and quickly bursting out of the pot!
Give the orchid a gentle twist, and new shoots come popping out!
Some flower lovers have kept the orchid at home for several years, and it still only has a few leaves, with no sign at all of growing new shoots. So what should be done? Today Huahua will teach you a little method; use it and the orchid's little shoots are guaranteed to come popping out!
Steps:
1. First, take the orchid out of its pot. Before repotting, stop watering the orchid for 2-4 days, then hold the orchid's root area with one hand, turn the flower pot upside down with the other hand, take the orchid out, and then gently shake off the soil on the roots until clean.
2. Cut off all the rotten roots, weak roots, dead roots, hollow roots, and so on from the orchid's root system. Note that the pruning knife must be disinfected in advance.
3. First find the orchid's pseudobulbs, that is, the places where the orchid stores water and absorbs nutrients. They are basically at the base of the leaves, above the roots, and most will protrude, so they are very easy to identify.
4. Use both hands to grab 1 pseudobulb each, then gently twist them in opposite directions to split part of the connection between the pseudobulbs, but do not break it completely.
5. Prepare a carbendazim solution, put the orchid with the twisted-open pseudobulbs directly into the carbendazim solution and soak for 20-40 minutes, so the twisted-open parts of the pseudobulbs are sterilized and disinfected to prevent bacterial infection.
6. Repot the orchid. Below 1 cm from the bottom of the pseudobulbs, prepare normal orchid potting medium, and completely wrap the part of the pseudobulbs 1 cm and above with sphagnum moss.
7. After repotting the orchid, water it thoroughly once, then place it in a cool, ventilated place to recover for 1-2 weeks, and water normally. If you want the orchid to grow vigorously, you can apply decomposed liquid fertilizer once every half month, or bury a few drops of sesame oil in the pot.
8. The part of the pseudobulbs wrapped in sphagnum moss will produce many little orchid shoots. After these little shoots grow up, just divide them into separate pots by division, and then you will have several new orchids!
Cut the money tree once, and its umbrella shape becomes even more beautiful!
Every time Huahua sees someone else's money tree looking as beautiful as a little umbrella, but the money tree at home is completely bare, Huahua immediately feels heartbroken! So hurry up and follow Huahua to learn how to make the money tree more beautiful!
Steps:
1. If the money tree at home is especially messy and also has many leggy branches and the like, then the money tree needs to be pruned!
2. When pruning, keep 1-2 bud points on each branch, and basically cut off all the remaining branches!
3. After pruning, in less than 1 month, you will be able to see the money tree sprouting new leaves.
4. If you want the money tree to grow faster, you can bury a few granules of compound fertilizer in the pot, and when watering, be careful not to let water accumulate in the pot and rot the roots. Soon the money tree will grow lush and green, with a shaped look like a little umbrella!
That is all for today from Huahua!
If you flower lovers still have anything you do not understand,
hurry up and leave Huahua a message!