Split a clivia or an asparagus fern from 1 pot into many pots with just 1 trick, and you will never need to buy flowers again
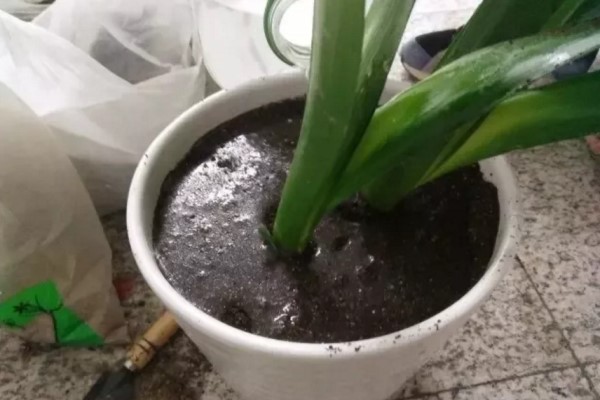
Clivia
Usually a mature clivia will sprout new shoots at the rhizome every year. When repotting the clivia in spring, you can separate these new shoots and plant them in other flower pots. With careful care, in a few days they will be a new plant~
How to divide clivia:
1. Remove the clivia from the pot, being careful not to damage the clivia's root system and small shoots.
2. Clean the soil off the roots, carefully break off the small shoots, and it is best if they carry some roots, as this helps them survive.
3. Clean the roots and cut off diseased roots and old roots. Apply some carbendazim powder to the wounds.
4. Put the clivia in a ventilated place to dry. At the same time, prepare a potting soil suitable for clivia growth. Make the potting soil in the ratio of leaf mold : pine needle soil : river sand = 3:2:1. For rootless small shoots, increase the proportion of sand. Then plant the clivia into the soil.
5. Water until water seeps out from the drainage holes at the bottom of the flower pot. Put the clivia in a cool, ventilated place, and be careful not to put it under the sun. Once new leaves grow, you can care for it normally!
Lily
Because lilies are bulb flowers, a ring of small bulbs grows around the outside of the old lily bulb, and these small bulbs are the material for our division.
How to divide lilies:
1. After the lily withers and before its dormant period, take the lily out of the pot, gently shake off the soil, and rinse the roots with clean water.
2. Use a sterilized, sharp knife to separate the bulbs. It is best if each bulb carries some roots so it can survive later.
3. Put the bulbs to be divided into carbendazim solution (carbendazim : water = 1:2000) to disinfect for 20~30 minutes. After disinfecting, dry the bulbs and store them in sand. When potting, choose fertile, loose soil. You can prepare the soil in the ratio of peat soil : river sand : sawdust = 6:3:1, and you can add some slow-release fertilizer at the bottom of the soil as a base fertilizer.
4. After placing the bulbs, cover with soil. If conditions allow, flower lovers can apply some base fertilizer. After watering thoroughly, put them in a cool, ventilated place. In about 3 or 4 weeks new shoots will emerge, and during this period keep the soil slightly moist.
Asparagus fern
As the asparagus fern grows, it continuously grows new plants. If the original pot can no longer hold them, you must repot or divide them, otherwise it is not good for the asparagus fern's growth and may also cause problems such as root rot and yellow leaves.
How to divide the asparagus fern:
1. Carefully remove the soil from the flower pot, being careful not to damage the roots, and finally take out the whole plant. Gently pat the roots with your hands to knock off the soil, moving gently, and finally rinse with water.
2. Find the nodes where the roots divide and gently break them apart. If you cannot break them apart, you may have found the wrong spot. Do not use brute force to break them; look for the nodes again. Be careful not to choose an asparagus fern that is too small.
3. Sprinkle some charcoal powder or cigarette ash on the wounds, then put them in a cool, ventilated place to dry. Once the roots are dry, you can repot them.
4. To prevent root rot, you can lay a layer of clay pebbles at the bottom of the flower pot. On top of the clay pebbles put a layer of soil, and organic fertilizer can be mixed into the soil as a base fertilizer. Note that the asparagus fern likes loose, fertile soil. You can prepare the potting soil in the ratio of leaf mold : coarse sand = 7:3.
5. After placing the asparagus fern, gently shake the plant while filling in the pre-prepared potting soil, and finally press the potting soil lightly with your hands. When watering, be sure to water thoroughly. After that, put the asparagus fern in a cool, ventilated place to recover for about 7 days.
Spider plant
During the growth process, the spider plant will branch outward and grow small spider plants. We can use these small spider plants for division.
How to divide spider plants:
1. Find the small spider plants newly grown by the spider plant and cut them off.
2. Choose a flower pot with large drainage holes. Place newspaper or tiles at the bottom of the pot to cover the drainage holes, and put a layer of clay pebbles at the bottom as a drainage layer.
3. Bury the small spider plant in loose, fertile soil. It does not need to be buried too deep, 1-2 cm is enough. Water thoroughly.
4. Put the planted small spider plant in a cool, ventilated place, and after about a week you can carry out normal care.
Have you all learned how to divide plants?
Hurry up and give it a try!