Propagate roses and bougainvillea with a plastic bottle: big white roots in 1 month
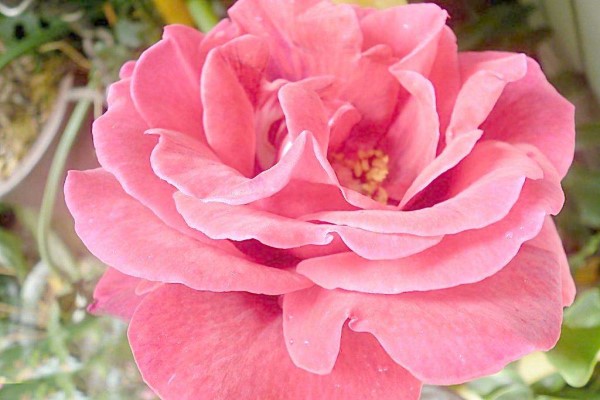
Propagate roses in a plastic bottle, roots in just 7 days!
Before long, it will be time for the roses to bloom. Take advantage of spring and propagate a few more pots, and your home can turn into a rose garden!
Steps:
1. Find a clean plastic bottle and use scissors to cut a slit from the upper part. Be careful not to cut it all the way off; just leave a small part attached on one side.
2. Prepare the rose branches needed for propagation. Be sure to choose vigorous ones, as these are more likely to survive. Cut the bottom end of each branch at a 45° angle to make rooting easier.
3. Prepare a piece of foam board and cut it into a circle slightly smaller than the bottle opening, so that the foam board can be taken in and out of the bottle freely. Then poke a small hole in the center of the foam board so the rose branch can be inserted.
4. Add some water to the plastic bottle, then place the foam board with the rose branch into the bottle. Arrange the rose leaves so they spread out as much as possible, and try not to let the water level in the bottle rise above the rose leaves.
5. Find black tape and wrap it tightly around the cut opening of the plastic bottle to seal it.
6. After that, place it indoors in a spot with good indirect light for 1 week to acclimatize, then move it into direct sunlight. It will take only about 1 week to root.
7. After rooting, to ensure the survival rate, you can first do temporary planting. Prepare a disposable cup, add a layer of perlite at the bottom first, then add nutrient soil, coal cinder, or similar soil, and place the rose branch in.
8. When the roots have grown a bit longer, prepare loose, breathable nutrient soil and pot the rooted rose branch directly. Fertilize normally with a little compound fertilizer and monopotassium phosphate, and the rose will grow up quickly!
Propagate bougainvillea in a plastic bottle: thick, sturdy roots!
As a northerner, Huahua sometimes really envies the south. After all, in the south, bougainvillea can climb walls whenever it wants, and can even climb several meters high. It's truly very beautiful!
Steps:
1. Prepare vigorous bougainvillea branches, preferably semi-lignified ones, about 10-15 cm long. Keep 2-3 leaves at the top end, and cut the lowest end of the branch at a 45° angle with a sharp knife, then soak it in rooting solution.
2. Prepare floral foam blocks and cut them into small blocks 3 cm in length, width, and height, then insert the bougainvillea branch into them.
3. Place the bougainvillea cutting together with the floral foam block into a tray, then cover it with a clean plastic bottle and put it indoors in a spot with good indirect light. Be careful to maintain moisture and ventilation.
4. In about 1 month, you will see white roots growing through the floral foam block, which means the bougainvillea cutting has rooted.
5. After rooting, pot the bougainvillea together with the floral foam block. First place it in a cool, ventilated spot to recover for a while, then put it in a sunny spot on a south-facing balcony for normal care, and the bougainvillea will grow up quickly!
Propagate succulents in a plastic bottle: turn 1 pot into 100 pots in no time!
Spring is here again, the season when succulents grow rapidly. If you want to quickly get many pots of succulents, then leaf propagation is the way to go!
Steps:
1. Pull the leaves off the mother succulent plant and place them indoors in a spot with good indirect light to dry for a while, to prevent wound infection and black rot.
2. Prepare a clean plastic bottle. According to the size of the succulent leaves, use scissors and a sharp knife to poke several small holes in the middle and upper parts of the bottle. The holes are best made oval-shaped, and in the lower part just poke 1 hole for adding water.
3. First add water to the bottle, being careful that the water level does not exceed the water inlet holes. Then insert the dried succulent leaves into the plastic bottle and place it in a spot with good indirect light. When you notice the water at the bottom has decreased, add a little more. If you notice the leaves wilting, you can mist them with water.
4. The water in the plastic bottle will continuously evaporate and increase humidity, thereby encouraging the succulent leaves to root and sprout as quickly as possible. Once you see the propagated succulent leaves have rooted and sprouted small buds, you can transplant them into potting soil.
5. When removing the rooted leaves from the plastic bottle, be sure to be careful to avoid damaging the newly grown roots. If you are really worried, you can also choose to cut the plastic bottle open with scissors, add a little water at the bottom, and fix the succulent leaves in place directly with tape.
About plastic bottle propagation,
that's all Huahua has to share!
If you flower lovers want to know about propagating other flowers,
hurry up and leave Huahua a message!