Sprinkle a handful of sand into the pot: no yellowing leaves, no root rot, roots sprouting like crazy, and even the little bugs stay away...
Drop a single cutting into sand, and it will sprout big white roots like crazy!
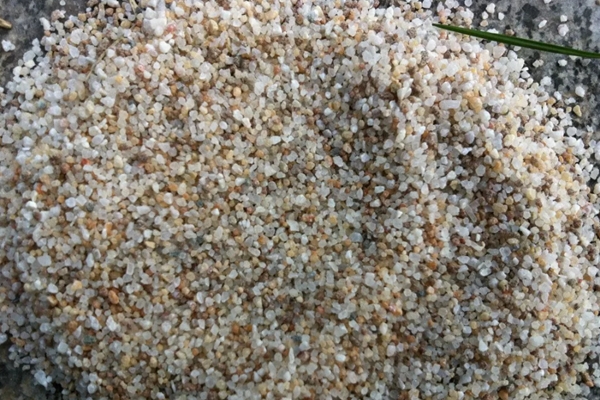
Sand is an excellent medium for cuttings. Sand has strong water and air permeability, so cuttings root very quickly. Today, Huahua will use bougainvillea as an example.
Steps:
1. Sift the sand through a sieve, and set aside the coarser grains of grit.
2. Prepare 1 pot of yellow clay soil, crush it into powder, add some rooting powder, pour in water and mix it into a yellow clay slurry.
3. Choose the bougainvillea branches you want to use for cuttings. It is best to choose branches that are more than 1 year old, as these are more likely to survive.
4. Trim the bougainvillea branches you want to use for cuttings, cutting them into small sections of roughly 7-10cm.
5. Soak the lower end of the branches in the yellow clay, to a depth of roughly 2-3cm.
6. Prepare pure coarse sand, then insert the bougainvillea cuttings into the sand.
7. Sand has very strong water permeability, so you will need to sprinkle water on the surface of the sand pot about 1-2 times a day. It takes roughly only 1 month for the bougainvillea cuttings to take root.
8. Transplant the rooted bougainvillea into a flower pot. First place it in a cool, ventilated spot for 1 week. After 15 days, you can water it with a little compound fertilizer solution, which will make the bougainvillea grow more vigorously!
Line the bottom of the pot with a handful of sand, and you can grow flowers for 10 years without root rot!
The thing gardeners fear most is root rot, and large-grained sand has very strong water and air permeability. Lining the bottom of the pot with a little of it can effectively prevent root rot from happening.
Steps:
1. Sift the sand through a sieve, keep the large-grained sand, and set the fine sand aside for later use.
2. Continuously rinse the coarse sand you kept with clean water to remove the tiny sand particles and impurities on it, so as to avoid clogging the gaps and reducing water and air permeability. When the rinse water runs clear, it is clean.
3. Pour boiling hot water over the rinsed coarse sand, roughly 3-5 times, then take it out and dry it in the sun. Sand scalded with hot water can be sterilized and disinfected, preventing moss from growing, and also preventing the sand from sticking to the inner wall of the pot and causing an uneven layer at the bottom.
4. Spread the coarse sand on the bottom of the pot, then add nutrient soil on top, and it is ready to use for growing flowers. Large-grained sand at the bottom of the pot serves to loosen the soil and let air through, so you will never get root rot again when growing flowers!
5. Don't throw away the remaining fine sand either. Mix it directly into the potting soil and use it when potting up flowers. You can mix peat soil, garden soil, and sand in a 2:2:1 ratio, which can effectively prevent soil compaction and thus prevent root rot.
Sprinkle a handful of sand on the pot surface, and it will never attract bugs again!
As soon as spring arrives, lots of little bugs start appearing. These past few days, quite a few gardening friends have told Huahua that they have lots of fungus gnats at home, so Huahua is preparing to sprinkle a handful of sand on the pot surface!
Steps:
1. First soak the sand in a carbendazim solution for at least 2 hours to sterilize and disinfect the sand and avoid all kinds of bacteria and pathogens, then leave it in the sun to dry.
2. Spread a thin layer of sand on the pot surface. It not only blocks fungus gnats and other bugs from laying eggs on the pot surface, but also makes it easier for water to seep down when watering, so water does not splash out.
Pour a handful of sand into the pot, and the soil will never compact again!
When flowers at home have been grown for a long time, or when they have not been repotted for a long time, the soil easily becomes compacted, and even water cannot seep in. Over time, the roots cannot breathe and will rot.
Steps:
1. If you find the soil is especially badly compacted, be sure to use a small trowel or similar tool to loosen the surface of the potting soil first.
2. Prepare a few unused drinking straws, then find some large-grained coarse sand.
3. Use a straw to poke a few small holes in the surface of the flower pot, then insert the straw in. The deeper the better.
4. Firm up the soil around the straw, then slowly pour coarse sand into the straw. After that, pull the straw out, and the sand is left inside the potting soil. Each time you water, the water will slowly flow into the pot through the sand columns, thereby slowing down soil compaction.
That is all for today from Huahua.
If you gardening friends have any other questions,
Hurry and leave a comment to ask Huahua!