Don't throw away onion tops after cutting them, just plant them simply and they can turn into three
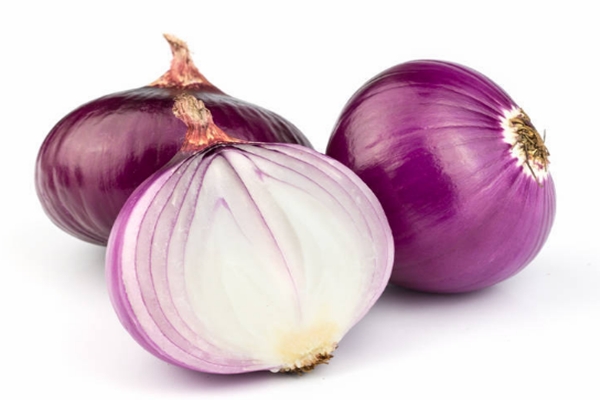
Steps for growing onions from onion bases
Image source: Yanghua Nadian Shi
1. When you normally cut an onion, cut off the bottom part of the onion and don't throw it away. Put it in a cool, ventilated place to dry for 1-2 days for later use.
2. Prepare loose, breathable nutrient soil. You can mix peat soil and perlite at a 1:1 ratio to make nutrient soil, fill the flowerpot to 2/3 full, then water it once thoroughly to moisten the soil.
3. Bury the onion base whose cut surface has dried, with the fresh cut side facing up, then cover it with the remaining 1/3 of the soil.
4. Put the flowerpot in a cool, ventilated place. In about 1 week, you can see the onion base sprouting small green shoots and pushing up through the soil surface.
5. After the onion seedlings grow out, be sure to place them under the sun to receive plenty of light. When you see the potting soil become slightly dry, spray a little water with a small spray bottle to keep it moist, and the seedlings will quickly grow taller.
6. At least 2 seedlings have grown in one flowerpot. At this point, you can take the onion seedlings out of the pot directly and divide them. Turn the flowerpot upside down and carefully take out the onion seedlings.
7. Clean the soil off the onion roots, being careful not to damage the roots.
8. Use a sterilized knife to cut from the middle of the onion, so the onion seedlings can be separated, then let the wounds dry for about half a day.
9. Prepare 2 flowerpots, fill them with loose, breathable nutrient soil, then plant the divided onions separately into the 2 flowerpots. That completes the division of the onion seedlings!
10. Continue to care for the divided onions in the sun, and don't forget to water them. With careful care, the onions will grow out very quickly!
11. After about 1 month, dig the onion seedlings out of the soil and you can harvest big onions! And some onion seedlings may even produce 2 bulbs at once, which is a total bargain!
12. After harvesting the onions, don't just throw away the onion leaves either. You can wash them and stir-fry them directly. Because the taste of onion leaves is similar to that of scallions, washing them clean and scrambling them with eggs tastes super good too!
Steps for growing tomatoes from tomato slices
1. Most gardening enthusiasts grow tomatoes at home from seeds or seedlings. In fact, there is also a super simple method, which is to cut 1 slice of tomato and plant it, but the tomato slice must be chosen from a completely ripe one.
2. Use a knife to cut the tomato crosswise a few times into tomato slices.
3. Prepare loose, breathable soil. You can use peat soil, perlite and vermiculite at a 2:1:1 ratio to make nutrient soil, then place the tomato slices flat directly in the flowerpot. Remember they must have seeds!
4. After placing the tomato slices, cover them with a thin layer of nutrient soil, then water once thoroughly, and place the flowerpot on a south-facing balcony for care. In about 2 weeks, the planted tomato slices will sprout small shoots!
5. Because more seedlings grow from tomato slices, when the seedlings grow to 7 leaves, they need to be divided into separate pots. Otherwise, with so many seedlings growing in one flowerpot, they definitely won't grow big, and may even become leggy!
6. Place the transplanted tomato seedlings on a south-facing balcony to receive plenty of light, and water about once every 5 days. When watering, you can add 1-2 granules of compound fertilizer to make the seedlings grow stronger.
7. As the tomato seedlings grow bigger and bigger, you can find a small wooden stick or bamboo pole, insert it into the soil, then tie it together with the tomato seedlings. This can prevent the tomato seedlings from falling over.
8. Before flowering, be sure to spray more 0.2% potassium dihydrogen phosphate solution. Soon green little tomatoes will grow. After waiting a while longer, once the tomatoes turn red, they can be eaten!
That's all for today's introduction.
Have all you gardening enthusiasts learned it?
Why not hurry up and give it a try!